Freshwater on Board

We’ve got a freshwater tank of about 210 liters – pretty decent and enough for two to three days. Amusingly, the shipyard even offers the boat with two water tanks: a standard tank in the backboard-astern cabin and another one in the bow cabin. We, however, simply forgot to order the bow tank. Upgrading the original Bavaria tank isn’t an option either – it just won’t fit through the door or the hatch window. And the space under the fore-cabin bunk? Practically usable only for a tank, and getting to it is a real challenge.

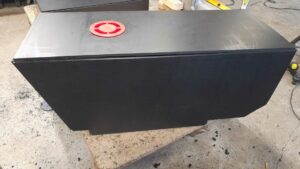
I even thought about installing one of those soft tanks – basically a flexible water bag. But I read they tend to become porous over time and are hard to keep clean. Alternatively, you can have a custom-made tank built. Sounds super complicated and probably expensive, right? Far from it! I paid just €692 for a specially fabricated 135-liter tank.

Schäfer Kunststoffverarbeitung GmbH
Kirchstraße 11, 57614 Oberwambach
Tel: +49 2681 – 7171
Whatsapp: +49 176 – 48982245
Email: info@schaefer-kunststoff.de

Complicated? A bit, but absolutely doable!


Planning

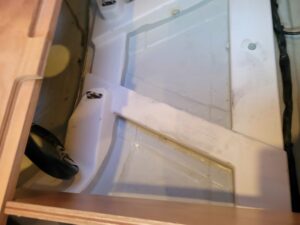
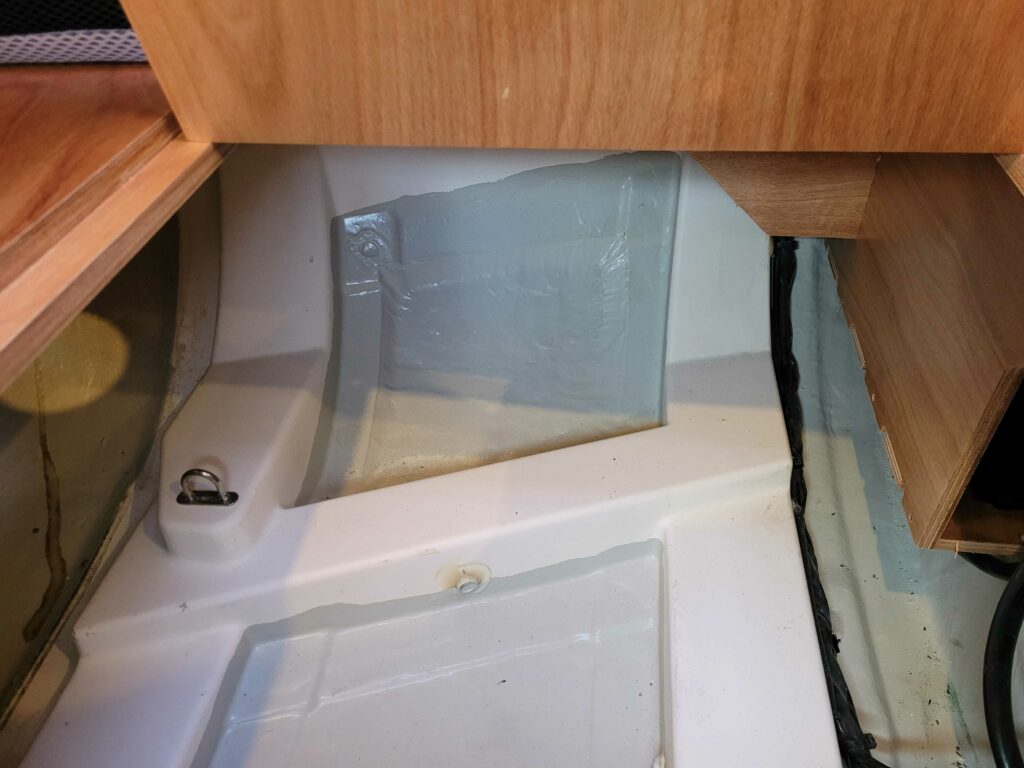
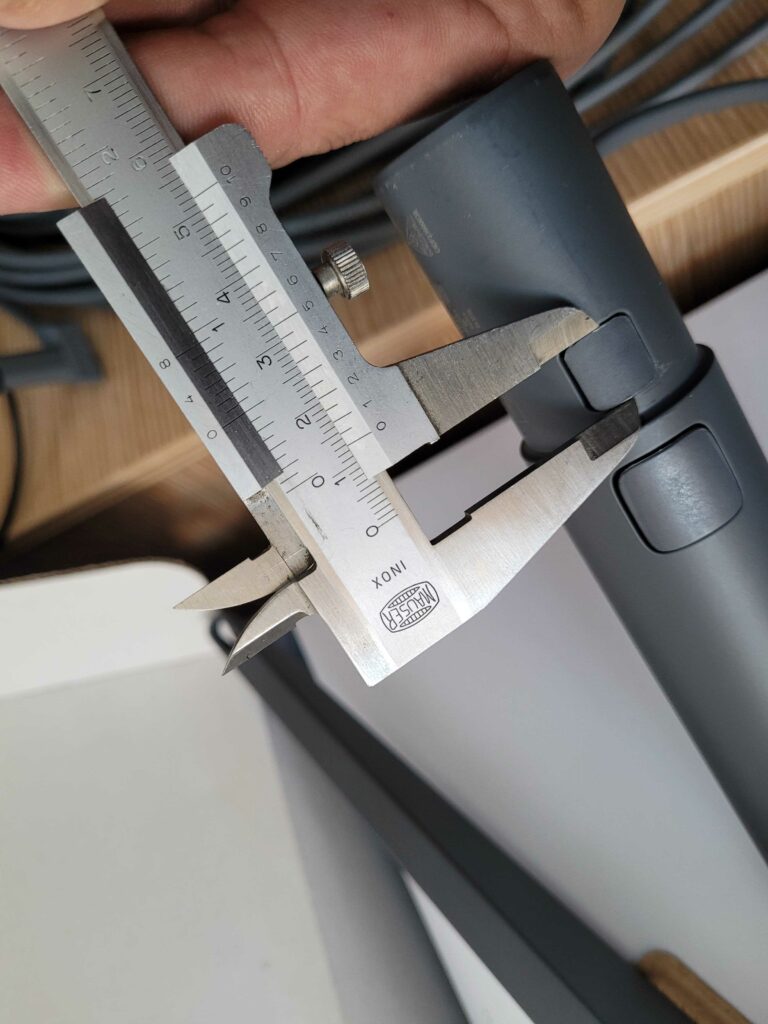
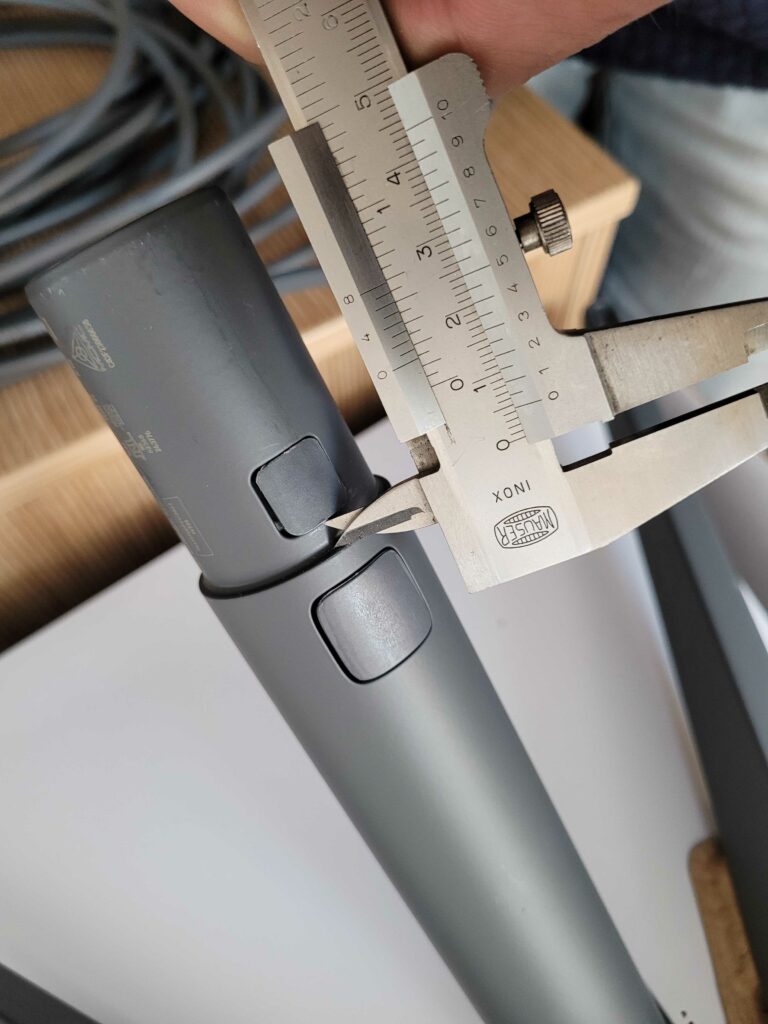
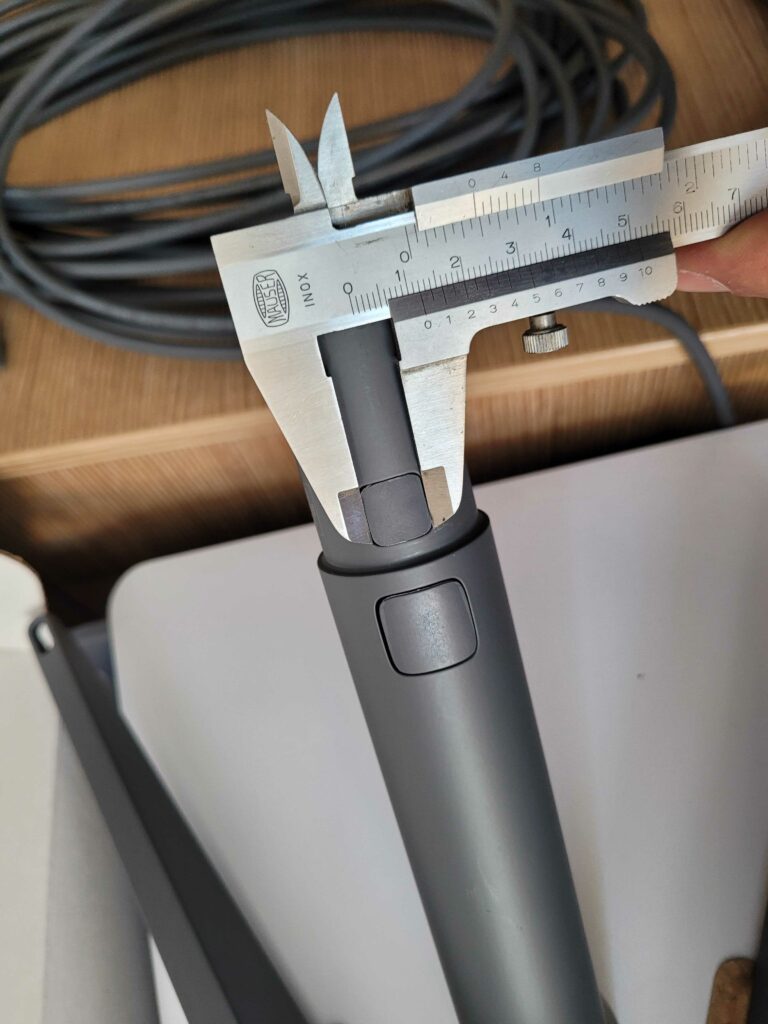
First, I measured the available space carefully – not every tiny nook, but enough to create a roughly rectangular tank that makes optimal use of the area. The critical test was ensuring the tank would still fit through the door and the hatch under the bunk – the door’s width was the real limiting factor.

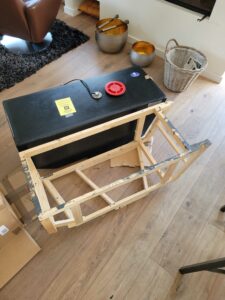
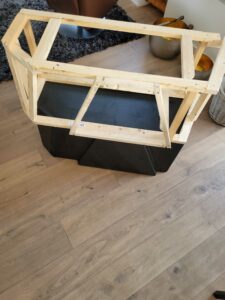
If you try to use every single corner (which is possible), the tank’s cost skyrockets quickly. Based on my measurements, I built a wooden model – essentially a “prototype in wood” – to confirm the tank would indeed fit in the designated spot.

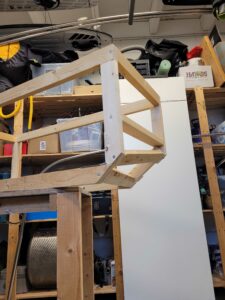
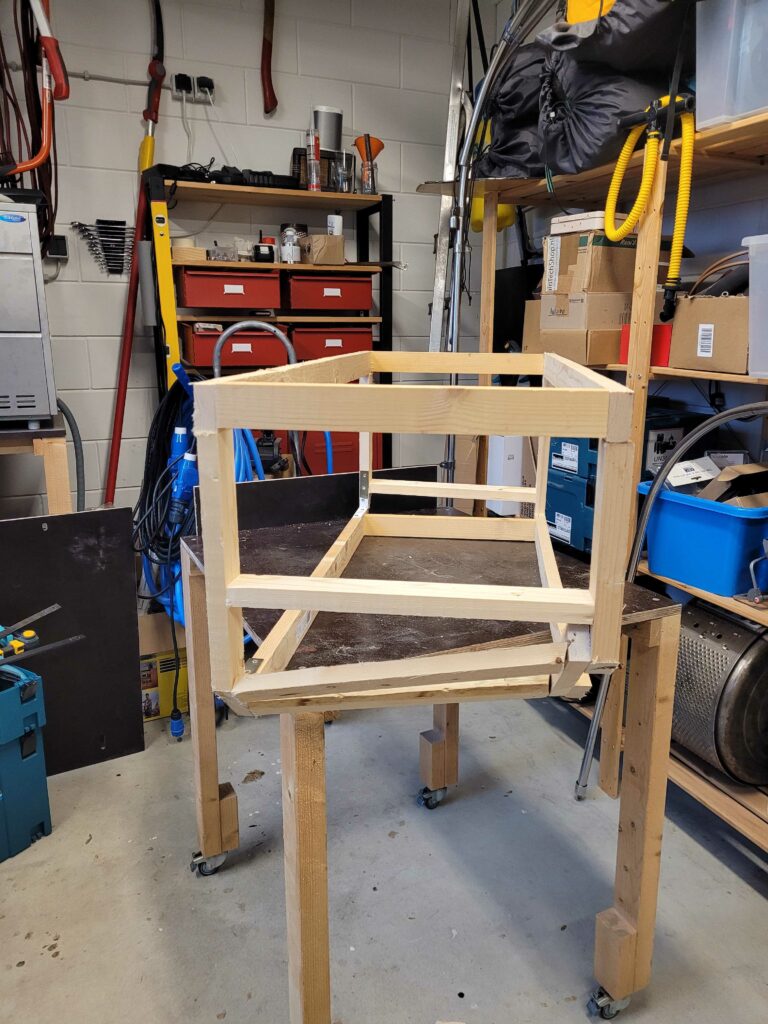
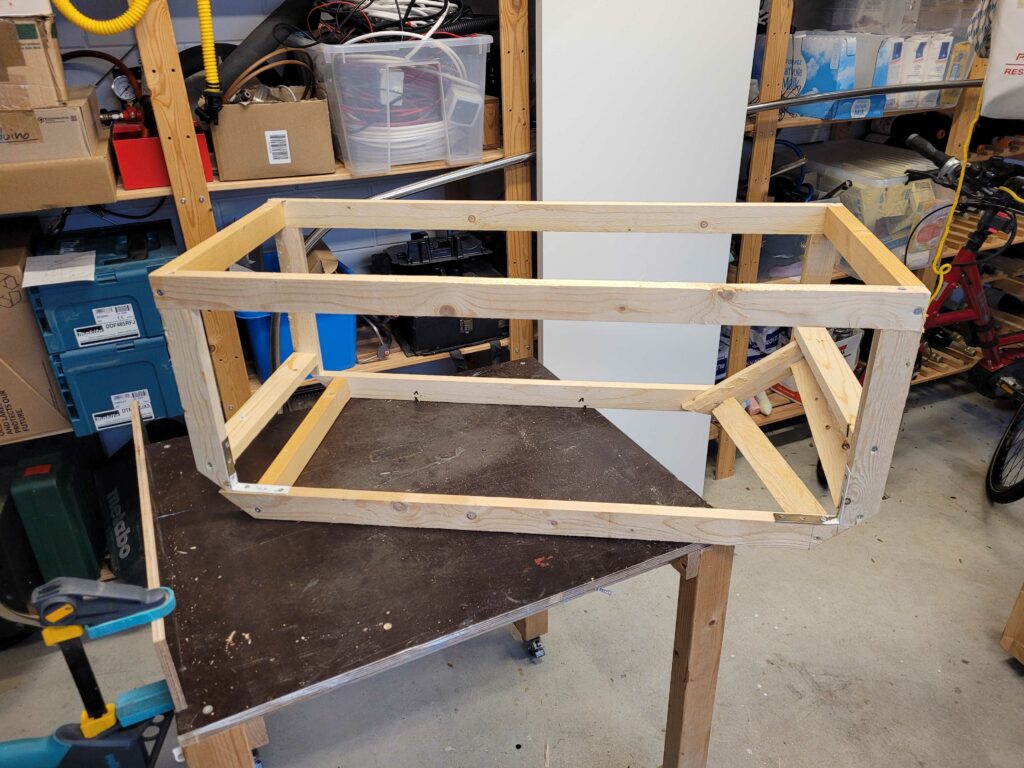
After several “fitting attempts” (see video), I optimized the model to yield a tank volume of about 135 liters. For comparison, the original Bavaria bow tank holds 150 liters and costs roughly €1000 – a pretty sound investment when you consider how much work DIY can be.

The optimizations included, for example:

  • A triangular bottom: This design fits perfectly between two frames and improves drainage.
  • Slanted side walls: They ease the installation and match the boat’s contours beautifully.

Moreover, I had to plan the extraction and filling access, the service access, the venting, and even the placement of the level sensor. Schäfer even plans to incorporate splash walls to prevent the water from sloshing around too much when the boat is in motion – something that would have left me stumped.

I’ve attached the drawing – I’m convinced this tank should fit all C38 models.(Drawing as PDF)


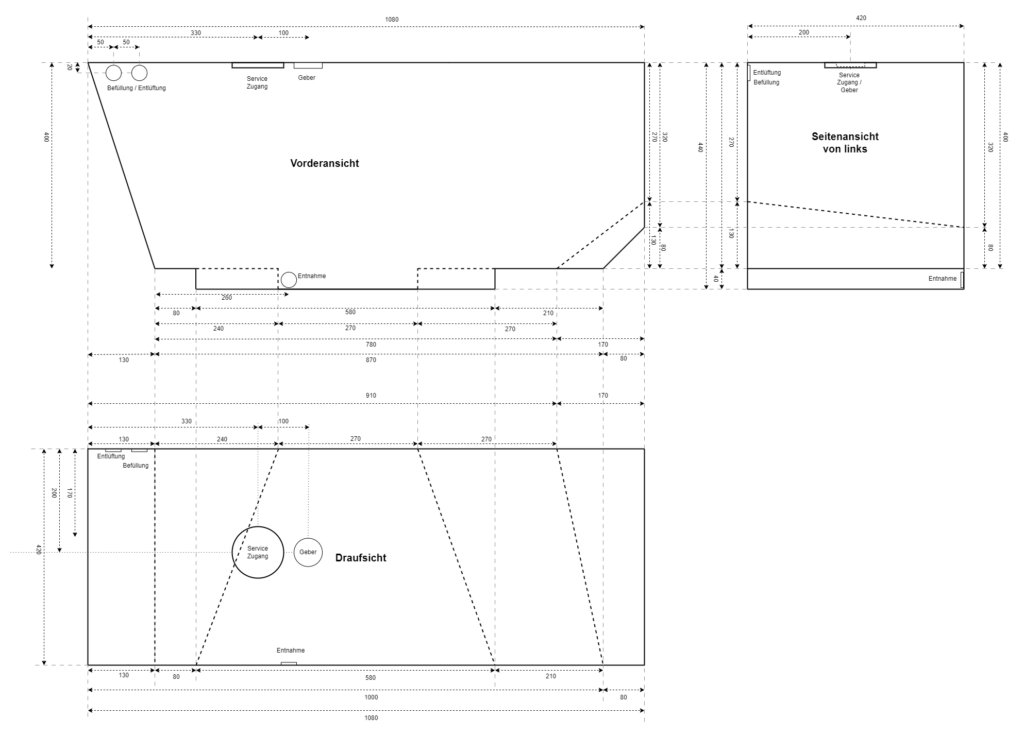
Important: Always re-measure before use; don’t just take it at face value!

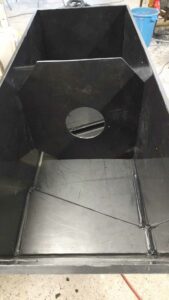
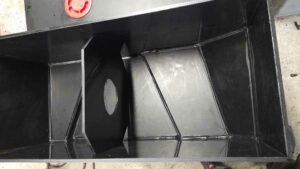
I also got in touch with Schäfer’s production department and managed to snag a few pictures of the tank assembly. It was really fascinating to see how the tank was built – especially its internal construction.
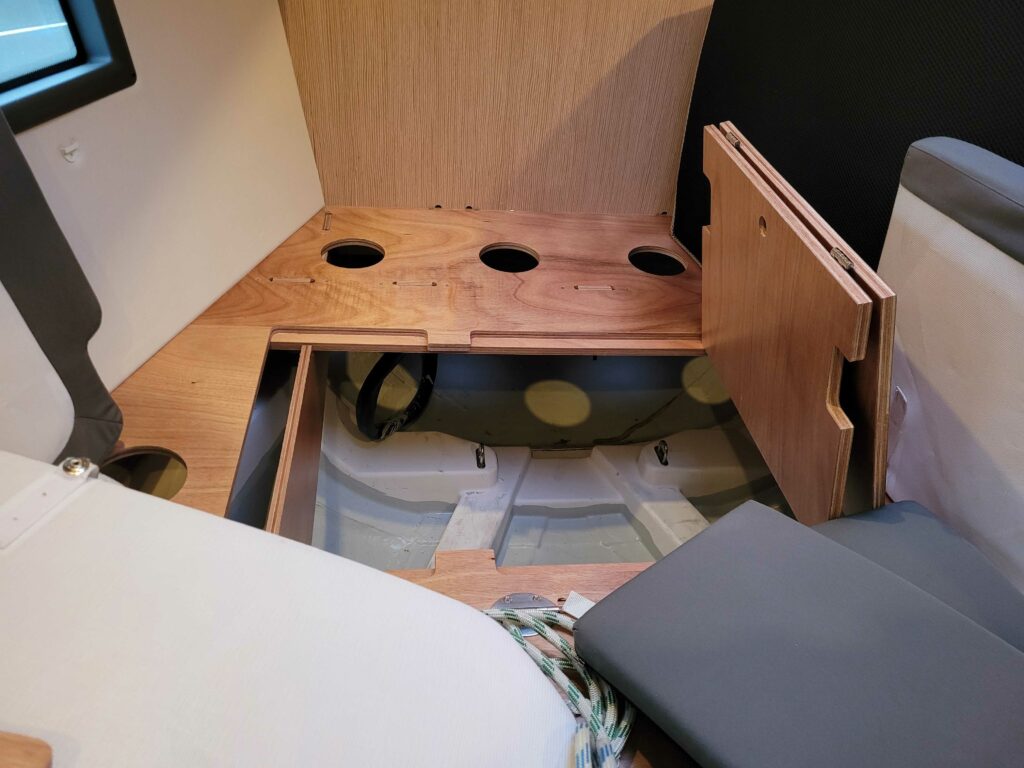
Installation

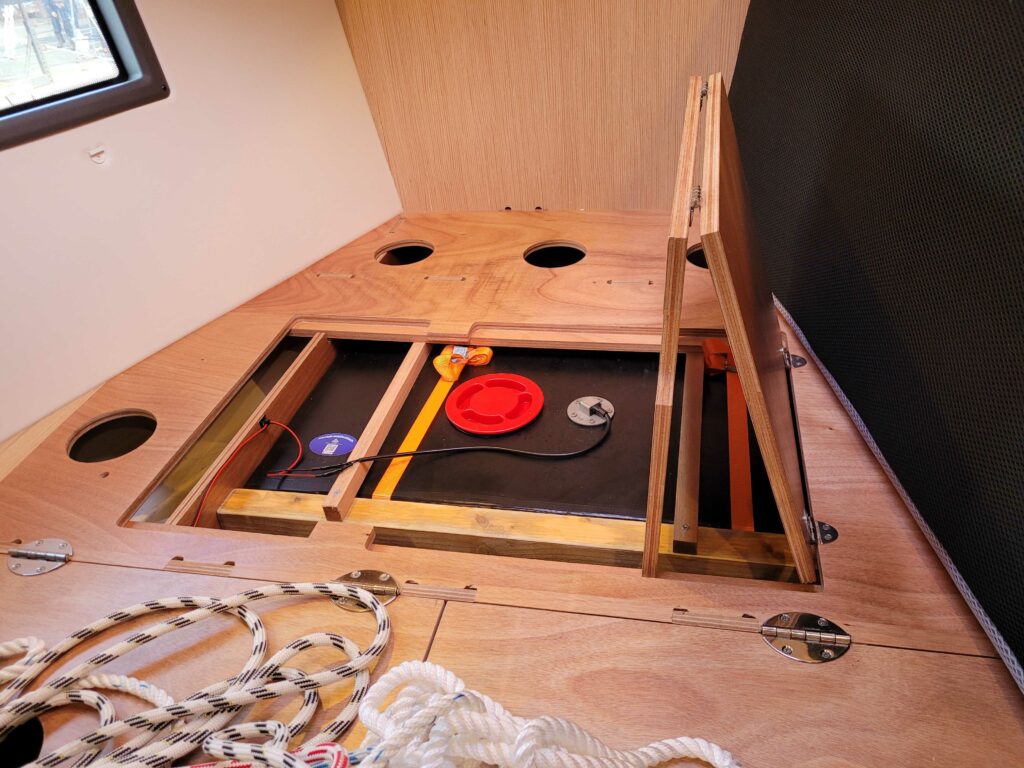
I reinforced the hatch with two laminated wooden beams so that the tank stays firmly in place. Additional tie-down straps, run through existing eyelets on the floor, secure the tank reliably.

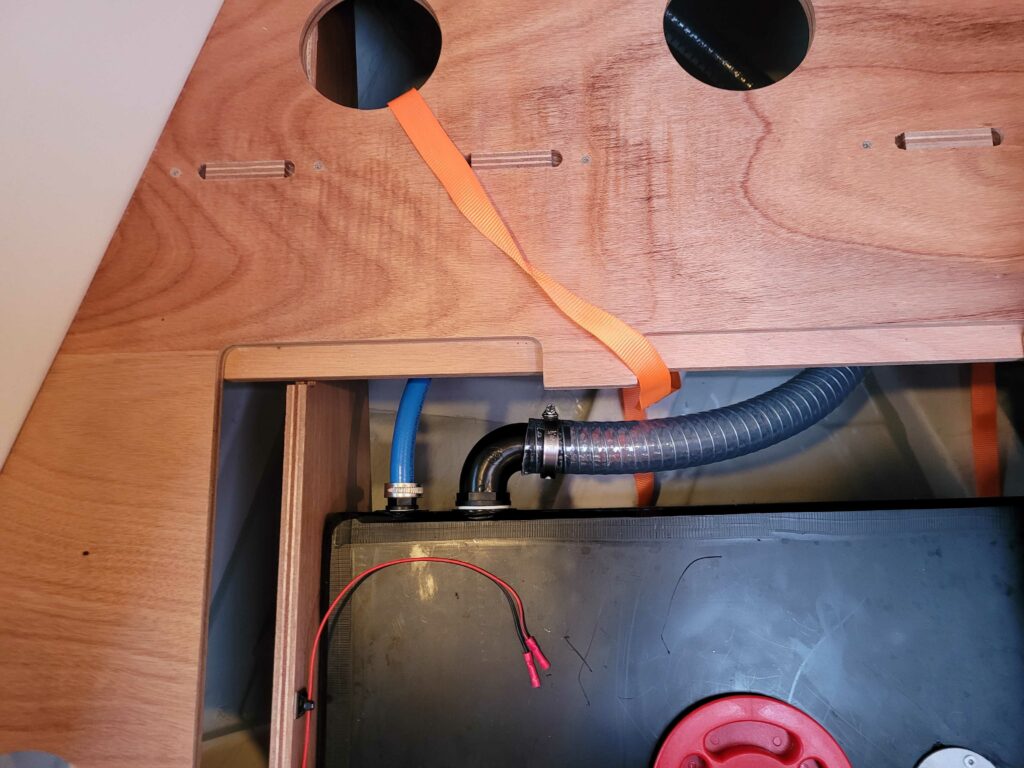
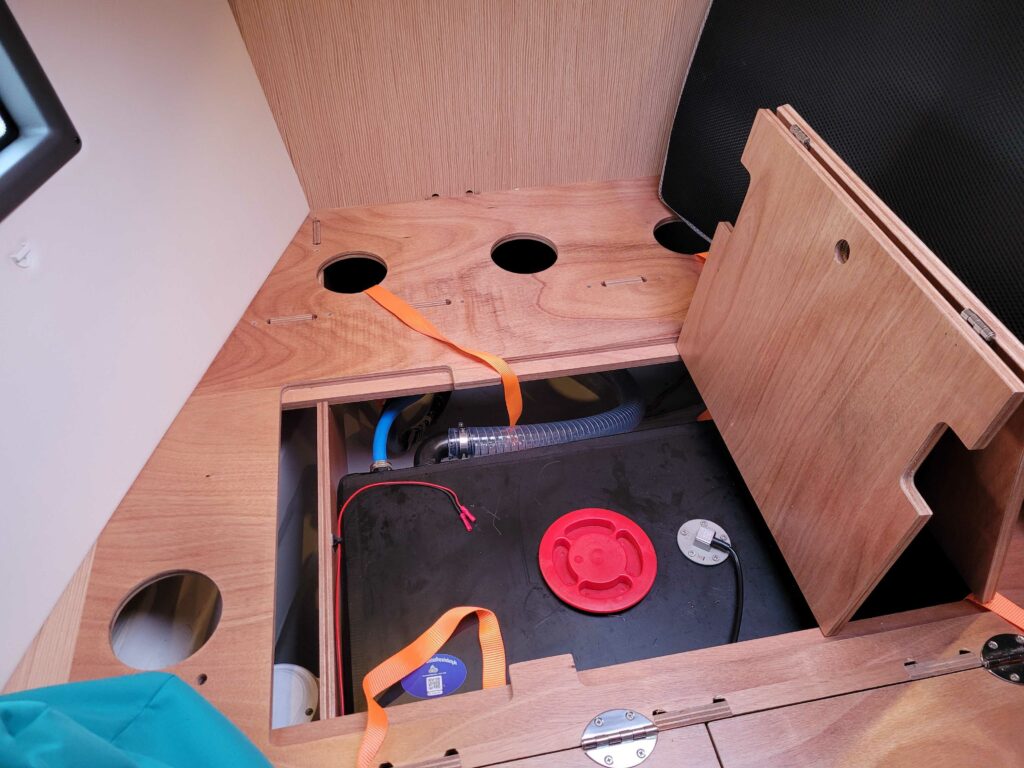
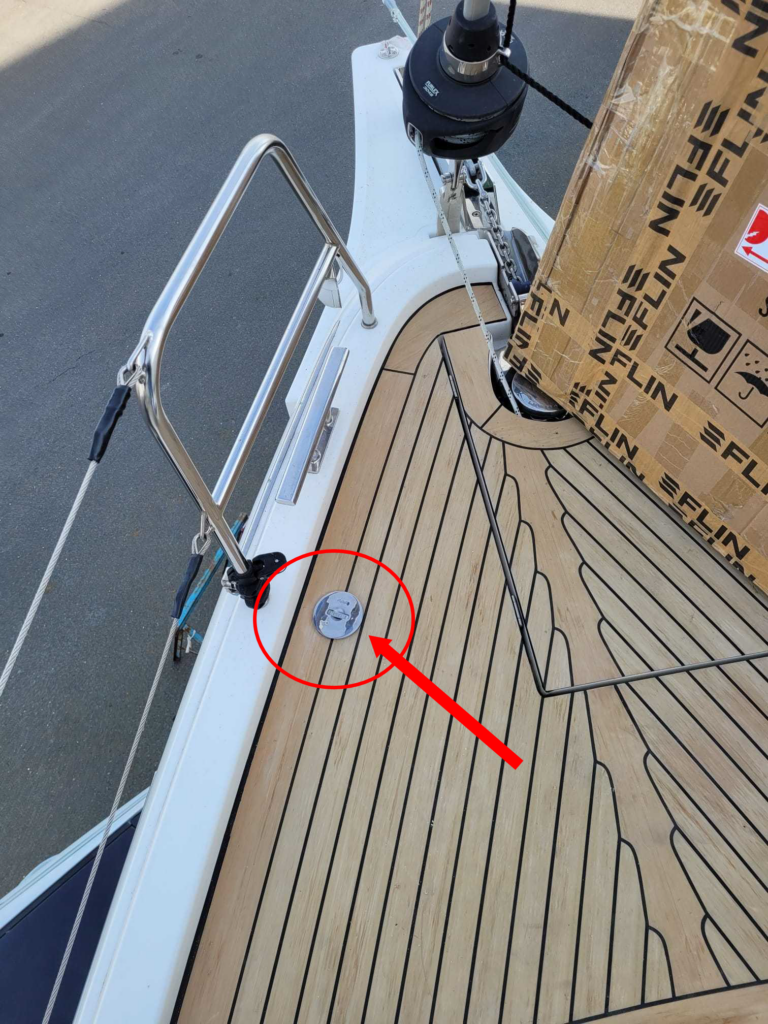
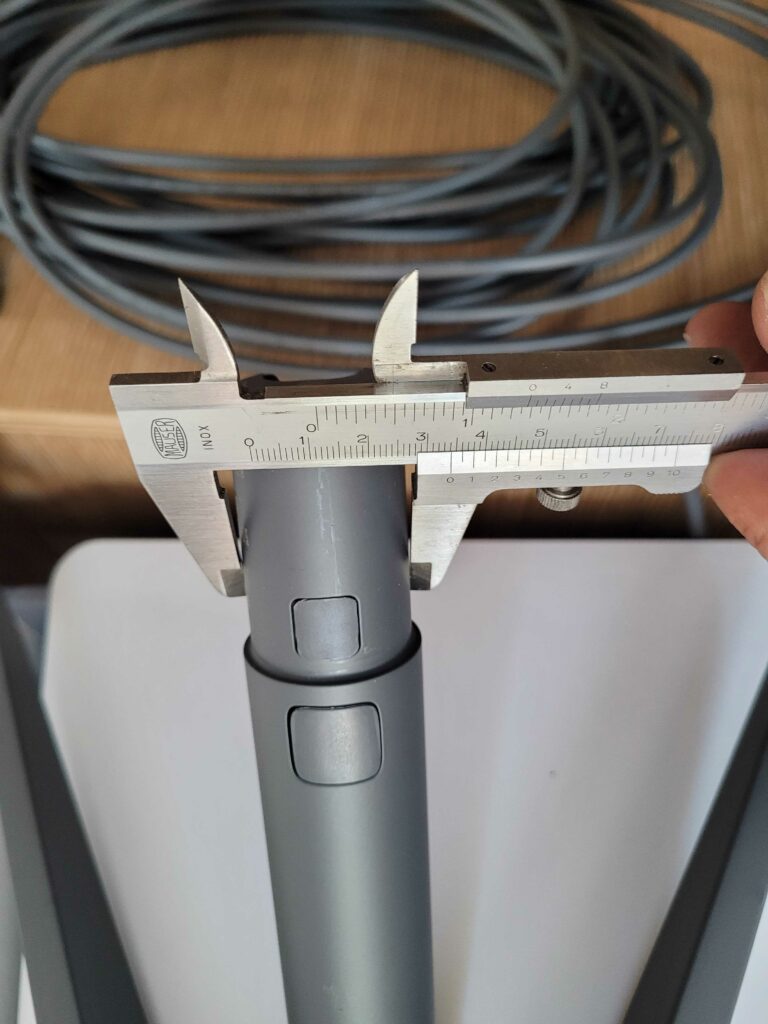
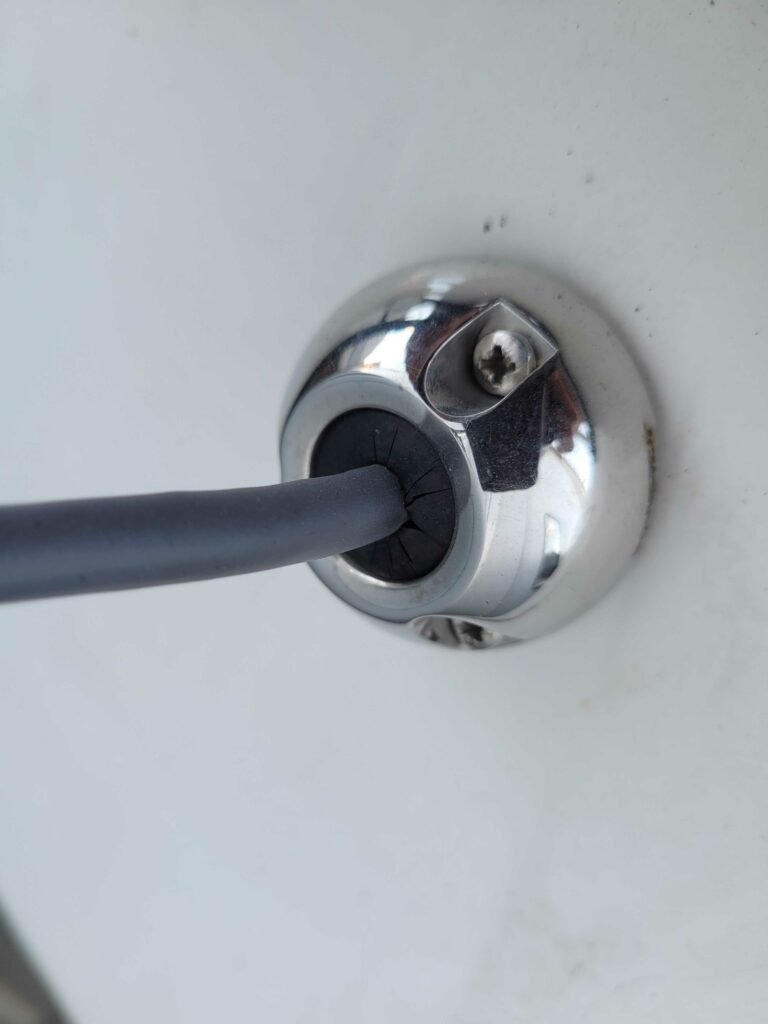
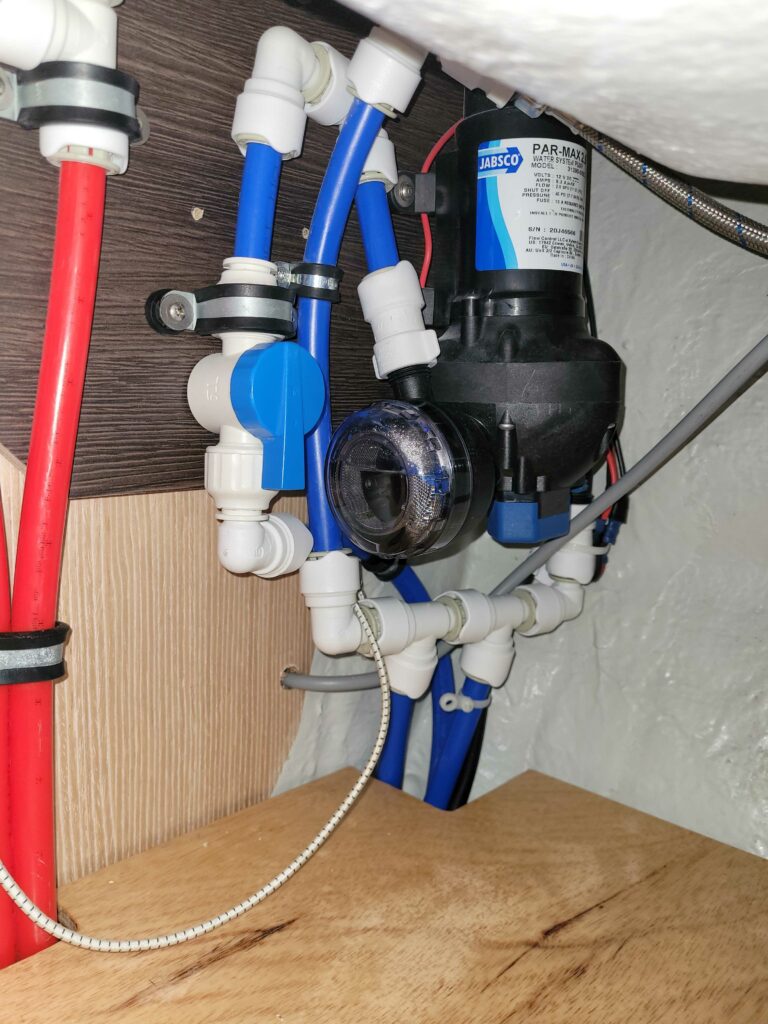
For filling and venting, I utilized an opening towards the anchor locker (backboard). The venting ends in the chain locker – I simply didn’t want to drill another hole in the hull. The filling is routed via a stainless-steel stud to the deck. The extraction hose runs past the starboard side, alongside the service batteries, and heads toward the saloon where, beneath the sink, you’ll find the potable water pump and the main tank’s extraction line.


Consideration

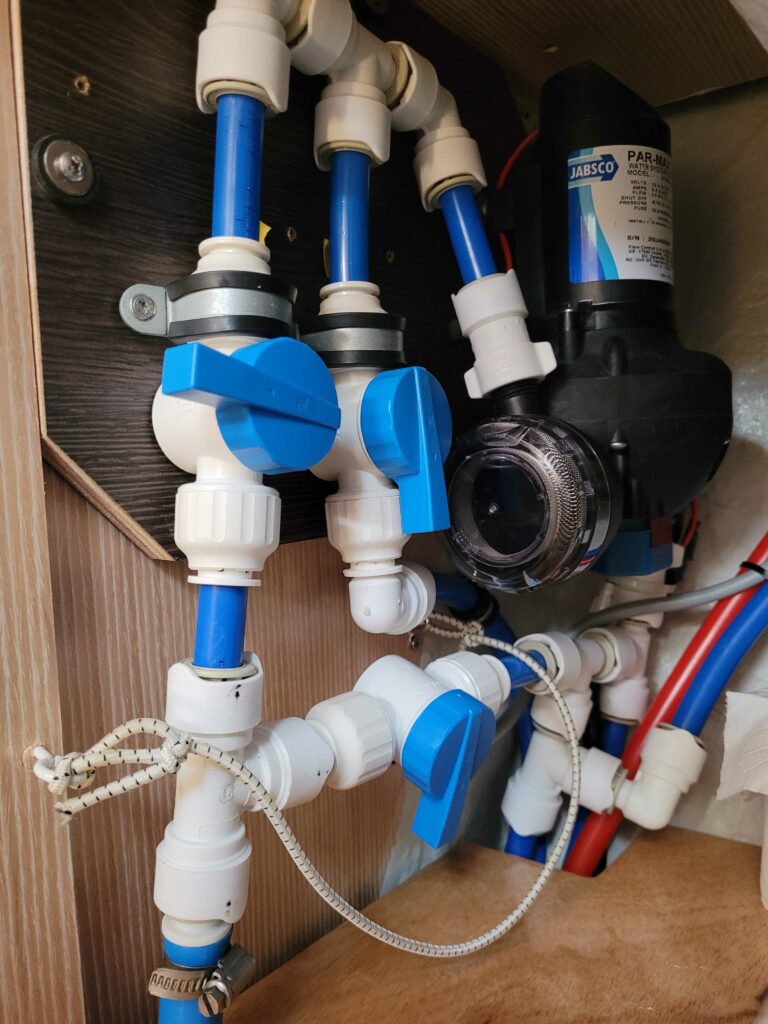
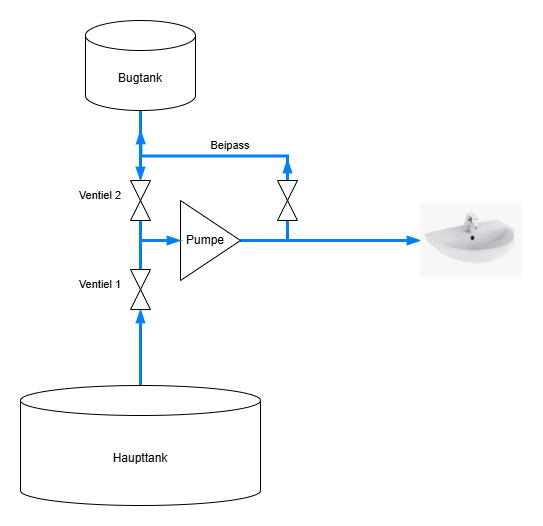
I’m also planning to install a water maker that ideally fills both tanks. However, there’s only enough space for this device at the main tank – and I’m not keen on adding more hoses throughout the boat. So, I devised a bypass with a shut-off valve to allow water to be pumped from the main tank into the bow tank.

See the diagram:

  • Valve 1: open
  • Valve 2: closed

As long as the bypass remains closed, water is drawn exclusively from the main tank. Once the bypass is opened, the potable water pump transfers water from the main tank into the bow tank.

Now we have about 135 extra liters of water for drinking, rinsing, washing, and even brushing our teeth – a refreshing upgrade for life on board!

Important: this is merely a description of how I did it; everyone must decide for themselves whether they feel capable of undertaking the work. I make no guarantee regarding the accuracy of the presented content. We are not liable for any errors resulting from mistakes in the documentation or during the replication of the content. Likewise, we are not liable for any consequential damages that may occur.

Starlink

I’ve long considered maintaining a permanent connection to the outside world and have come across several options.

Iridium
A proven system on which products like Garmin InReach are based. The technology is specifically designed for boats—the hardware is compact and can be powered directly by a 12V supply. With a current draw of under 2A, the system is very efficient. However, it has its downsides: the hardware is quite expensive (around 800–1000 euros) and the data rate is only about 3 kbit/s. By comparison, my first modem from 1991 offered 14.4 kbit/s—just enough to send a WhatsApp message or a simple email (without images). The technology is already a bit dated.

Starlink
Starlink is an entirely new system. The standard hardware is available for around 250 euros, and the subscription is managed monthly via an app—even without an active Starlink connection, because the system remains connected to its own services in the background. Once you adjust or extend the subscription, you can go online at speeds of 50–100 Mbit/s. In 2024, the subscription was about 60 euros per month—which sounds fantastic! However, there are a few drawbacks:

  • The Starlink router is designed exclusively for 230V, so an inverter is required (although workarounds exist).
  • The power consumption is 100–120 W, which at 12V corresponds to roughly 12A—when you include inverter losses, it’s more like 15A.
  • Additionally, the subscription rates are frequently adjusted, so they rarely (if ever) become cheaper for the consumer.
  • Finally, the hardware is significantly larger than Iridium’s, so a fixed installation is recommended.
  • One is definitely falling prey to – in my opinion – a misguided E.M. That means targeted disinformation and fake news—as well as the blocking of content from unwelcome authors—can, of course, occur at any time (we bought this before Elon went crazy).

Overall, the Starlink option turns out to be a very good alternative. With the necessary adjustments, the total cost for the complete hardware comes to around 700 euros—and you get an internet connection that almost matches a home connection in terms of performance. The kids tested the system under sailing conditions and were impressed—and that says something! 😉

Installation

For my permanent internet connection on the boat, I decided to install the Starlink antenna at the stern—ideally on a mounting pole through which the cable can be routed inside (past the diesel tank, through the bathroom, and into the salon where the router is located).

Mounting and Cable Management
I ordered a stainless steel pole with mounting eyelets from a specialist. The cable runs through a SCANSTRUT DS21 cable entry with a stainless steel cover. Important: the connector remains continuously attached so that no cutting is necessary—a cut would damage the shielded and twisted wires, severely impairing the transmission.

Power Supply and Voltage Conversion
The Starlink router is essentially a box with two connections (230V and the Starlink cable). In the computer networking realm, systems typically operate on lower voltages (often 12V or even 5V with USB). What bothers me are the multiple voltage conversions in this system:

  • From the 12V battery through a converter to 230V
  • Then, in the router, 48V is generated for the antenna and 5V for Ethernet

These conversions result in unnecessarily high power consumption—ideally, this process should be simplified.

Approaches to the Voltage Problem
My research revealed two options:

  • Yaosheng (Far Eastern product):
    A device to be inserted in-line, available through the manufacturer’s website. There are plenty of reviews and videos, and it appears to work reliably—though it costs around 200 euros.
  • EDUP (Amazon variant):
    This set consists of three components and requires some assembly. So far (as of 2024), there are few reviews, but it costs about 80 euros.

I chose the EDUP solution because it can be returned easily if it doesn’t work and avoids any customs issues. The price wasn’t the deciding factor for me.

Ordered Components:

The following picture shows the bought components and there connection.

Alternative products can also serve the purpose, but I like the configuration options and the clear user interface of the chosen router.

Everything’s set, the kids are watching a movie, and the parents are off to the beach club 😉

Important: this is merely a description of how I did it; everyone must decide for themselves whether they feel capable of undertaking the work. I make no guarantee regarding the accuracy of the presented content. We are not liable for any errors resulting from mistakes in the documentation or during the replication of the content. Likewise, we are not liable for any consequential damages that may occur.